Drawing Triangles


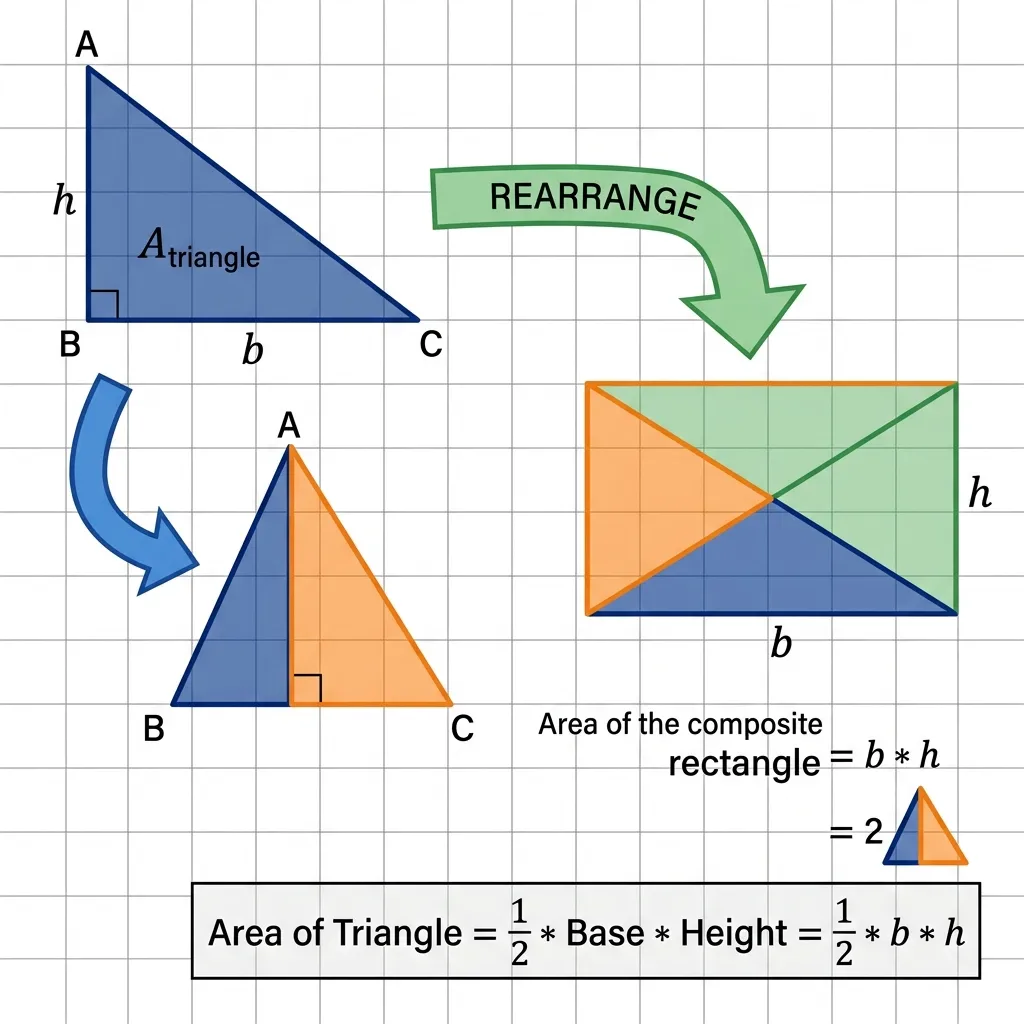
As we know, a triangle is a two-dimensional flat shape that has three sides and the sum of the three angles is . Some time ago I posted an article about Proving the Area of a Triangle
using GeoGebra. On this occasion we will learn how to draw triangles using GeoGebra, both equilateral triangles, isosceles triangles, arbitrary triangles, acute triangles, right triangles and obtuse triangles. Then proceed by creating a check box to show/hide the triangles. OK, let’s just look at how to draw a triangle using GeoGebra.
Triangles Based on Side Length
1. Equilateral triangle
The steps for drawing an equilateral triangle are as follows.a. Open the GeoGebra application.b. Remove the axis lines/Cartesian coordinates.c. Click Circle with Center Through Point. Form two circles with a radius of say 2 units. Each circle’s center is on the side of another circle.d. Click *Intersect Two Objects *to determine the intersection point of the circle.e. Click Polygons to connect the three points to form a triangle. To make it clearer, look at the following image.

f. Click Move. Remove both circles by right clicking on each circle and clicking Show Objects. Next, right click on each line segment and select Object Properties, click show label and select value. The result looks like the following image.

Move the three corners of the triangle, what happens? Why is triangle ABC equilateral?
2. Isosceles triangle
To draw an isosceles triangle, the steps are as follows.a. Click Circle with Center Through Point, then click in two different places on the graph view.b. Click *Points *on the toolbar then click on the circle, so that the third point is obtained.c. Click Polygons and connect the three points to form a triangle. Look at the following image.

d. Click Move. Remove the circle by right clicking on the circle and clicking Show Objects. Next, right click on each line segment and select Object Properties, click *show label *and select value. The result looks like the following image.

Move the three corners of the triangle, what happens? Why is triangle EFG isosceles?
3. Any triangle
To draw any triangle, the steps are as follows.a. Click Polygons and any triangle shape provided that the three sides are not the same length.b. Click Move. Next, right click on each line segment and select Object Properties, click show label and select value. The result looks like the following image.

Move the three corners of the triangle, what happens? Why is triangle HIJ called an arbitrary triangle?
Triangles Based on Angle Measures
1. Acute triangle
The steps for drawing an acute triangle are as follows.a. Click *Polygons *and form a triangle with all angles less than .b. Click Move. Right click on each line and click *Show Labels.*c. Click Angle. Click on the triangle. To make it clearer, look at the following image.

Why KLM triangle is called an acute triangle?
2. Right triangle
The steps for drawing a right triangle are as follows.a. Click Segment. Click on the graphic display so that a horizontal line formsb. Click Perpendicular Line. Click the line in step a and place the line formed at the end of the perpendicular line. c. Click Points. Click on the vertical line formed in step b.d. Click Polygons and connect the three points to form a triangle. To make it clearer, look at the following image.

e. Click Move. Right click on each line and click Show Labels.f. Click Angle. Click on the triangle. To make it clearer, look at the following image.

Why is the PNO triangle called a right triangle?
3. Obtuse triangle
The steps for drawing an obtuse triangle are as follows.a. Click Polygons and form a triangle with one corner more than .b. Click Move. Right click on each line and click *Show Labels.*c. Click Angle. Click on the triangle. To make it clearer, look at the following image.

Why is the QRS triangle called an arbitrary triangle?
Coloring and Caption Text
Next, so that the appearance of the triangle that has been drawn looks more attractive, give it a good coloring by right clicking on the triangle, selecting it Object Properties, choose colour. Then add text as additional information to each triangle by clicking Text and write a description of the triangle. Next click OK. To make it clearer, look at the following image.

Create Check Boxes
Previously, we created two texts with the titles “Triangles based on side lengths” and “Triangles based on angle sizes”.
1. Equilateral triangle
To make check box equilateral triangle the steps are as follows.a. Click Check Box.b. In column Captions type equilateral trianglec. Click the small arrow below the text Select objects in construction or choose from list. Next, click point A, point B, point C, segment AB, segment BC, segment AC, triangle caption text ABC, and polygon ABC. Next click Apply. To make it clearer, look at the following image.

2. Isosceles triangle
To make check box isosceles triangle the steps are as follows.a. Click *Check Box.*b. In column Captions type isosceles trianglec. Click the small arrow below the text Select objects in construction or choose from list. Next, click point E, point F, point G, segment EF, segment FG, segment EG, triangle text EFG, and polygon EFG. Next click Apply.
3. Any triangle
To create any triangle check box, the steps are as follows.a. Click Check Box.b. In column Captions type any trianglec. Click the small arrow below the text* Select objects in construction or choose from list*. Next, click point H, point I, point J, segment HI, segment HJ, segment IJ, triangle text HIJ, and polygon HIJ. Next click *Apply. *
3. Acute triangle
To make check box acute triangle the steps are as follows.a. Click *Check Box.*b. In column Captions type acute triangle.c. Click the small arrow below the text Select objects in construction or choose from list. Next, click point K, point L, point M, segment Kl, segment KM, segment LM, angles of the KLM triangle, text description of the KLM triangle, and KLM polygon. Next click *Apply. *
4. Right triangle
To make check box right triangle the steps are as follows.a. Click Check Box.b. In column *Captions *type right triangle.c. Click the small arrow below the text Select objects in construction or choose from list. Next, click point P, point N, point O, segment PN, segment NO, segment OP, triangle angle PNO, triangle description text PNO, and polygon PNO. Next click *Apply. *
6. Obtuse triangle
To make *check box *obtuse triangle the steps are as follows.a. Click Check Box.b. In column Captions type obtuse triangle.c. Click the small arrow below the text Select objects in construction or choose from list. Next, click point Q, point R, point S, QR segment, RS segment, QS segment, QRS triangle angle, QRS triangle description text, and QRS polygon. Next click *Apply. *The result of carrying out these steps looks like following image. 
To check the results, please check/uncheck each box/check box that has been created and pay attention to the triangle.
Display on GeoGebra
Below is an example of the results of drawing a triangle using GeoGebra. Please move the corner point and click each triangular box at the bottom.
Closing
By drawing triangles using GeoGebra, of course we can more easily convey learning to students about triangle material. Moreover, if the image is given additional animation effects, it will definitely be more interesting and easier to understand. Of course, there are still many benefits of GeoGebra in learning mathematics (geometry, calculus, algebra) which we can learn with regular practice. That’s the article on drawing triangles using GeoGebra. If there are errors, please correct them, and if you have input, please write them here. I hope this is helpful.