Quadrilateral Rotation Animation

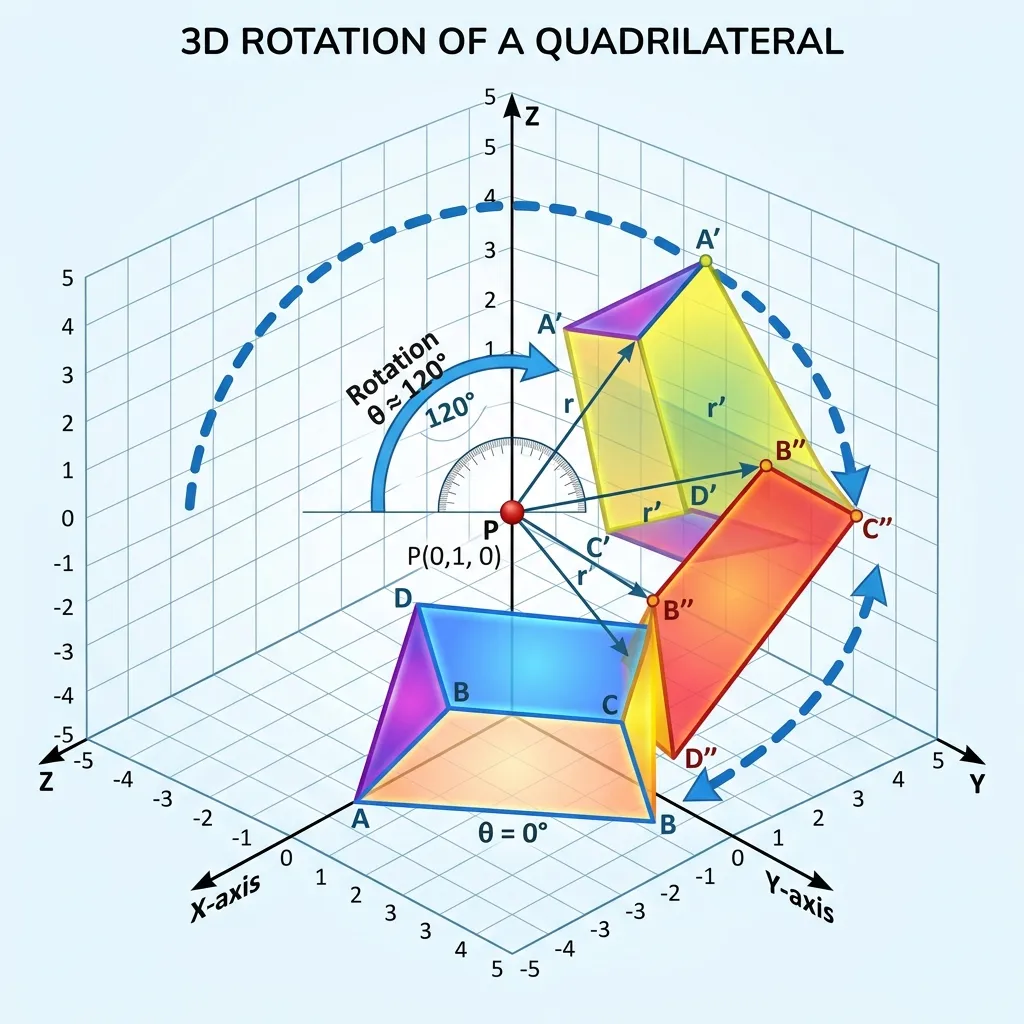
This article explains how to create a rotation animation for a quadrilateral using GeoGebra.

Steps to Create a Quadrilateral Rotation Animation in GeoGebra
1. Open GeoGebra
Open the GeoGebra application on your computer or device.
2. Create a Quadrilateral Polygon
Click Polygon, then click four points on the graph view and return to the starting point. The result will be a shape ABCD like the image below.

3. Create the Rotation Center
Create a point at the intersection of the -axis and -axis. Click the Point tool, then click the point . GeoGebra will create point as the center of rotation.

4. Create an Angle Slider
Click Slider, then click anywhere on the graph view. In the dialog box, choose Angle, rename to angle, then click OK.

5. Rotate the Polygon
In this example, the polygon is named q1. Type the following command in the input bar:
Rotate[q1,angle,E]Press Enter, and the rotated image will appear as follows.

6. Enable Trace On
Right-click the rotated image, then choose Trace On.

7. Enable Animation On
To make the shape rotate automatically, right-click the slider and choose Animation On.

8. Add Variations and Tidy the Display
Repeat steps 2-7 to create a second quadrilateral. To make the animation more attractive:
- change the color of the rotated shape in the algebra view or polygon settings;
- remove labels from the created shapes;
- adjust the slider color if needed.
Final Result
Below is an example of the finished animation. Click the play icon in the lower-left corner, or move the slider manually.
That concludes this guide to creating a quadrilateral rotation animation in GeoGebra. If you have suggestions or corrections, please leave them in the comments.