Parallelogram Animation

JA parallelogram or parallelogram is a two-dimensional flat shape formed by two pairs of edges, each of which is the same length and parallel to its partner, and has two pairs of angles, each of which is the same size as the angle opposite it.
Formula for the perimeter and area of a parallelogram
The perimeter and area of a parallelogram can be found using the following formula.
Draw a parallelogram
To draw a parallelogram, we can use the GeoGebra application, then also create an animation so it will be easier to find out the perimeter and area. The method for drawing a parallelogram using GeoGebra is as follows.
- Open the GeoGebra application.
- Eliminate the Cartesian line.
- On toolbars, choose Circle with Center Through Point. Next click on the graph screen.
- Still on toolbars, choose Line. Click on both points so they connect with another line through the center point of the circle.
- On toolbars, choose parallel lines. Draw a line* h* parallel *f *and lines i parallel g. Look at the following image.

- On the menu toolbars, click Intersect, click the line h And i. Next click Polygons. Create a parallelogram and color it accordingly. Look at the following image.

- On toolbars, click Move. Right click on each line and select Show Objects. Look at the following image.
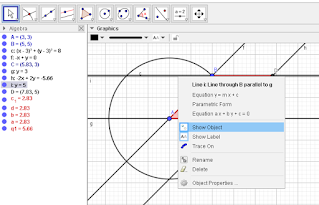
- After all the lines have been removed, the parallelogram image looks like the following.

- Next to display the angle, click Angle on toolbars and click on the parallelogram area.
- To display the side lengths and perimeter of the parallelogram, click *Distance or Length *on toolbars, then click on each side of the parallelogram and click on the parallelogram area.
- To display the area of the parallelogram, click Areas on the toolbar, then click on the parallelogram area. The entirety of step 9 to step 11 looks like the following image.

Find the perimeter of a parallelogram
To find the perimeter of a parallelogram, we can calculate the length of the base side AC, slant side CD, top side BD, and slant side AD, then add up the lengths of the four sides. Below is a simulation to find the circumference of a parallelogram. Move point A, B, C, or D to change the shape of the parallelogram. Note changes in side lengths, perimeters, and angles.
Find the area of a parallelogram
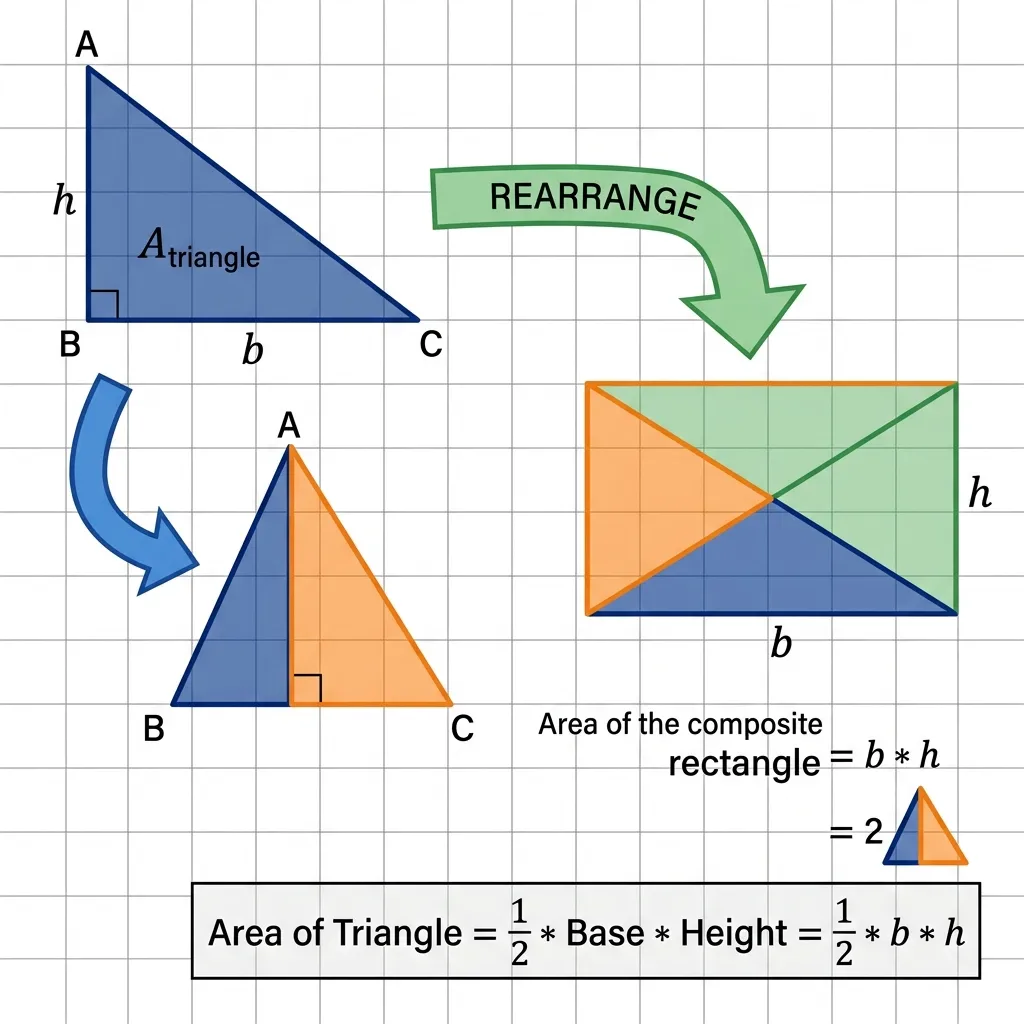
To find the formula for the area of a parallelogram, we can shift the parallelogram part, it turns out that after shifting it forms a rectangle. The base of the parallelogram is equal to the length of the rectangle and the height of the parallelogram is equal to the width of the rectangle. To make it clearer, pay attention to the following GeoGebra simulation. Please move the slider to the right, or click the OK button, and to return to its original form, please click the back button.
To create an animation of finding the area of a parallelogram as above, the steps are as follows. 1. Open the GeoGebra application. 2. Eliminate the Cartesian line. 3. On *toolbars*, choose *Polygons*. Create a triangle and trapezoid to form a parallelogram as follows. 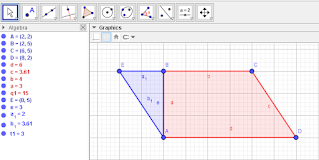 4. On *toolbars*, choose *Sliders*. Enter 0 in Min, 6 in Max, and 1 in Increment. Next click *OK*. Look at the following image.  5. On *toolbars*, *click Segment with Given Length*. Click the points to be shifted (A, B, and E) as far as the slider "*shift*". Click *Segment with Given Length *, click point A, write shift. Likewise for points B and E. Look at the following picture. 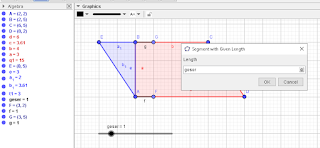 6. To create an animated button, click on the toolbar *Buttons*, then click on the screen, fill in *OK* on *Captions,* * StartAnimation[slide]* on Geogebra Script. Click *OK.* Look at the following image.  To create a button *Return*, fill in *StartAnimation[false] slide=0* on *GeoGebra Script.*- Next to speed up the movement Sliders, Right click on the slider, a dialog box appears as follows.
 Enter numbers in Speed, choose Increasing (Once) so that the movement only goes up or forward. Add color to Sliders, knob OK And Return as desired.
Closing
By using GeoGebra, we can draw, create animations and then also find the perimeter and area of the parallelogram. Of course, this is very helpful for teachers in teaching parallelogram material to their students. That’s the article about parallelograms, if there are errors, please correct them, if you have input, please write them here. I hope this is helpful.